
- Step 1: Choosing the Fabric
- Step 2: Customizing the shape
- Step 3: Sewing The Edges
- Step 4: Attaching The Magnets
A black-out curtain is essential for living in your van. (unless you are fine with using only window covers) It gives you privacy and darkens your van when you want to sleep. It also has a little bit of insulation value, keeping your living space temperature more stable than the area in the front. In this post I will show you how I made a black-out curtain for my small camper van. Keep in mind I’m just a beginner who tries things out.
Step 1: Choosing the Fabric
Of course, make sure that you know the required dimensions for your curtain. It is important that you choose a black-out curtain to block out any light at night. The color didn’t matter to me, so I chose a black curtain. Coincidentally, the day I bought my curtain, it was on sale.

Step 2: Customizing the shape
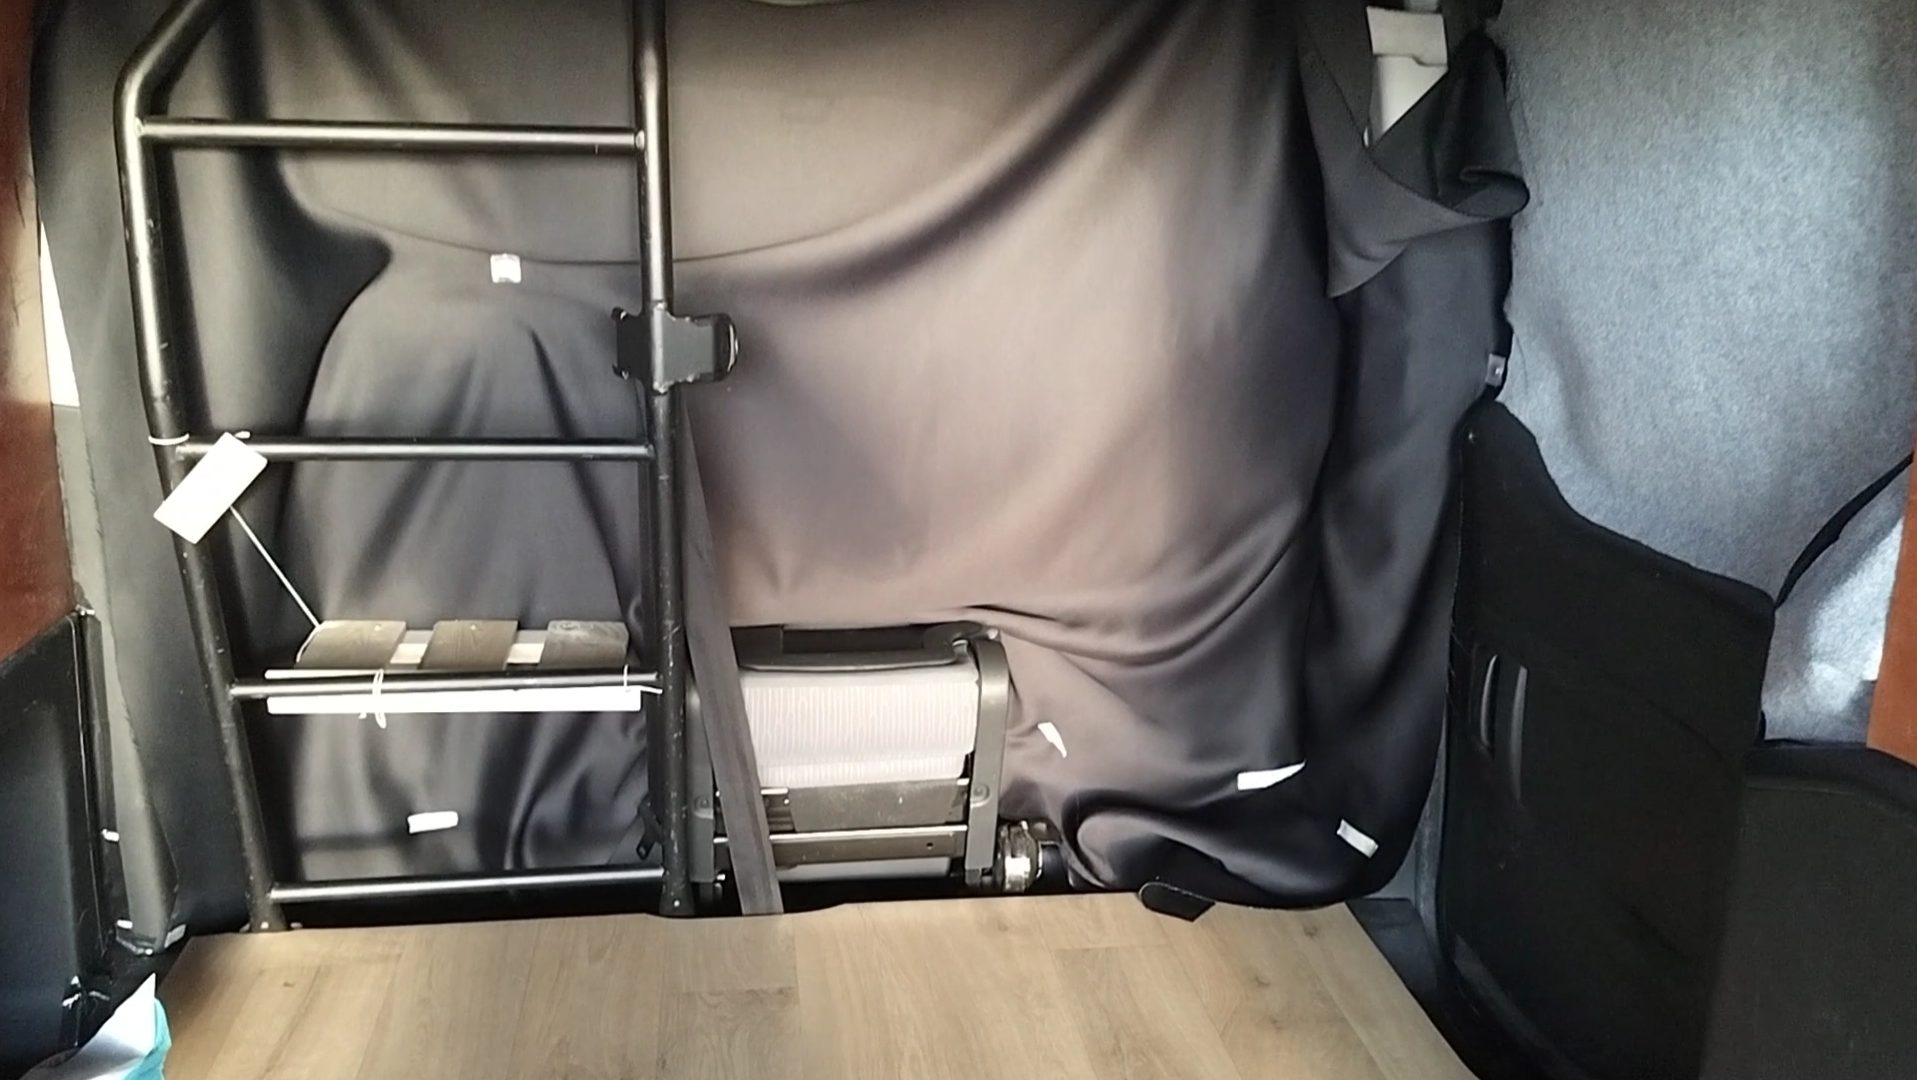
Most vans have a unique shape, especially smaller vans. That’s why I needed to cut off some parts of the fabric. I kept my curtain in place with magnets, while I used tape to mark off the preferred edges. Then I simply cut it out.
Step 3: Sewing The Edges
If you don’t want your curtain to start fraying, you will need to finish the edges using a sewing machine. I learned to sew for this reason. It only took a few YouTube videos and some practice on fabric you don’t need.

Step 4: Attaching The Magnets
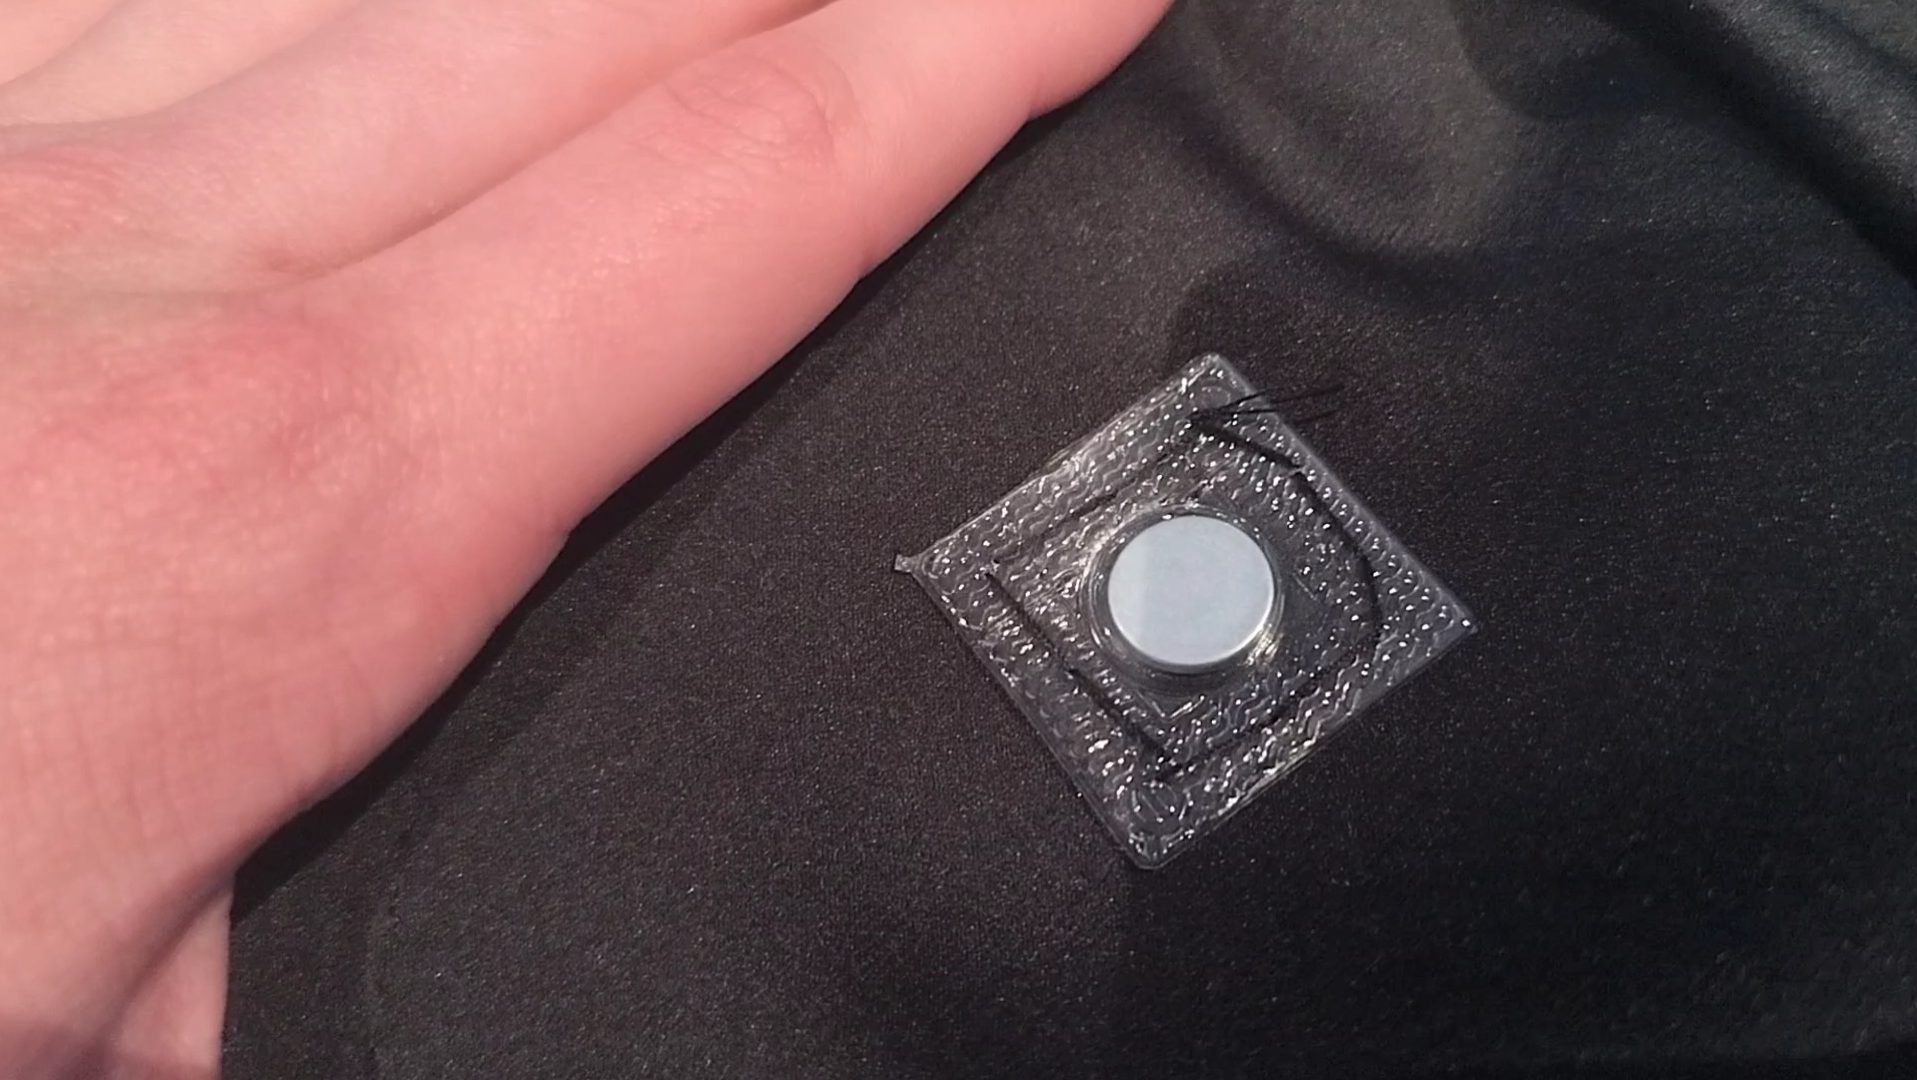
I wanted my curtain to be kept in place by magnets against the metal parts of my van. Once again, I used the magnets to hold my curtain up so I could mark their location. Then I sew the magnets into the curtain by hand.
Guess what? The curtain is ready to use. And it fits exactly how I wanted it. The magnets are strong enough to keep it in place and it darkens out my van perfectly! I don’t have to remove the whole curtain during the day, because I can simply move some of the magnets so it hangs stand-by behind the drivers seat. Great success!!

Leave a comment