- Balancing Insulation and Living Space
- How I Covered My Campervan Walls with Carpet
- Insulating My Little Camper Van
- Inner Walls: Covering Up The Insulation
A well-built interior can make your camper van feel a lot more like a comfortable home. Considering your floor is already finished, the next logical step for your DIY mini camper would be the walls and the ceiling. If you plan to drill a hole in the wall or ceiling like for a fan, you should probably do that first. But I want to keep things as simple as possible. Let me tell you how I converted my campervan walls and ceiling.
Balancing Insulation and Living Space
Since I have a very small van for my camper conversion, I can’t waste any space. While I can easily add insulation to the cavities in the walls, I cannot afford to replace headroom with insulation. Every centimeter and every inch counts because of the limited height of my van. That’s why I abandoned my plan to cover all sides with wooden plates and I instead chose to cover the van ceiling and some parts of the wall with a lightweight carpet.

How I Covered My Campervan Walls with Carpet
I bought a roll of felt carpet in the same home decoration store where I bought my vinyl floor. I also bought double-sided tape and I found some multi-purpose glue at home. Materials: check! ✅ I tried both the tape and the glue for this project. From my experience, the tape is the better option because it sticks immediately. The glue on the other hand needs to be kept in place for a long time before it dries, and it did awful on corners and curved surfaces. You can see the process in the video below:
Insulating My Little Camper Van
I bought stone wool insulation, you guessed it, on a roll. It has an R-value of 3. I don’t know how that compares to other camper vans, but it was the highest insulation value for the best price and the required amount. I think it was 12 cm thick, which is more than enough for my van walls. I cut out the right amount of insulation, I put it in a clean trash bag and I squeezed it between the outer wall and the interior planks my van came with. Here’s a video:
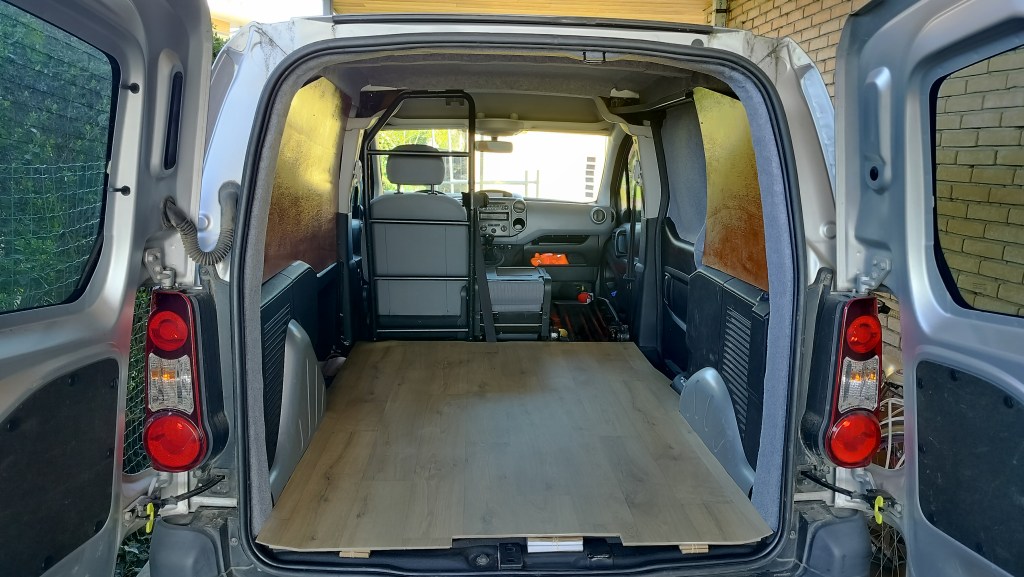
Inner Walls: Covering Up The Insulation
To finish everything off, I made custom wooden panels to cover up the space I insulated. I also treated the wood so it became more durable in the harsh vanlife environment. I could easily attach them to the already existing wooden planks in my Peugeot Partner, which is nice.
Even though I didn’t know in advance what my campervan interior would look like, I did stick to the plan: make it look nice, but keep it simple. When faced with an obstacle, I adapted to the new situation. To me, this van looks pleasant enough to call it a home. Considering that I’m just a beginner in van conversions, I call this a success!

Leave a comment